Coating the dashboard
This document shows the dashboard to be covered with black vinyl.
The first task after fitting and fixing the dashboard was to round all of the sharp edges of the board. This Ritmo dashboard came originally without any coating, with plastic finish. This made the work easier since no existing coating had to be removed.
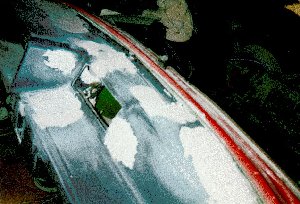
Since the board and its accessories were put together using rivets, those had to be hidden using some plastic cement. Obviously the surface was sanded down after that. Finally, the board was ready to accept foamed plastic to make its surface soft. The additional advantage is that some minor roughness of the board does not show very easily. The foam was not applied to the points where the coating would easily come off by itself.
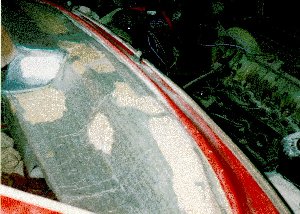
Sticking the vinyl coating was done next. The door panels and others are coated using the same material. The coating must be of very flexible sort because the surface being covered contains many lumps and recesses. There are also other sorts of vinyl available, so the material must be selected with care. The material is shaped more easily after heating it using warm air. Quite complex surfaces can be coated this way, but care must be taken not to heat the coating too much or it will melt.
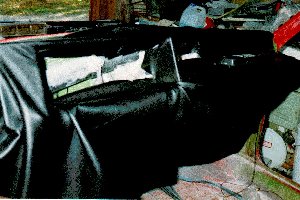
The vinyl was stuck using Bostik glue. In this case, the shape of the board was very complex so there was no guarantee about success. The covering was started on the right side of the board (see picture 3). The material was left loose at the points where the board contains lumps or recesses. The most difficult part of the board was in the vicinity of instrument panel. The coating stretches only in one direction and that must be taken into account. The coating was applied so that it can be stretched in cross direction of the car.
As said, the most difficult part in the operation was to cover the instrument console of the board. Two seams had to be created there, but those are not easily seen since they are below the instrument panel. I am quite pleased with the final result, particularly because I'm not doing this kind of job for living. :-)
Other parts of the interior are much easier since they do not contain such sharp bends.
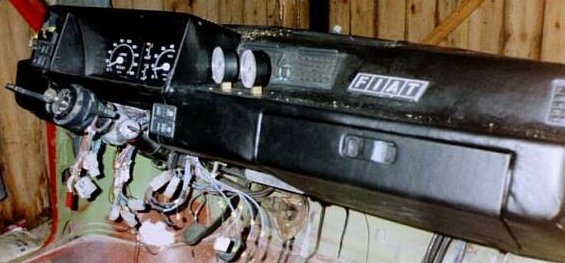
Finally, the board was equipped with gauges for boost and oil pressure. Those are illuminated with two bright-green LEDs.

