
(...continued from page 2)
Painting and related work - exterior parts
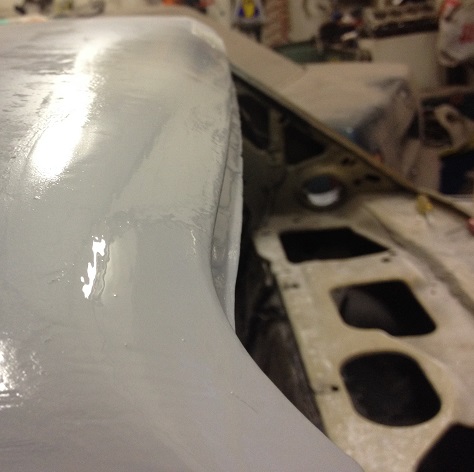
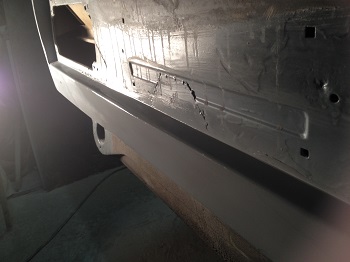
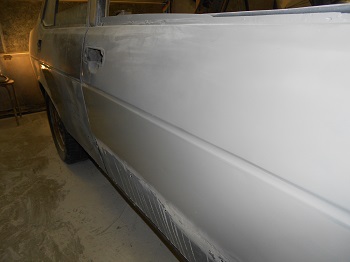
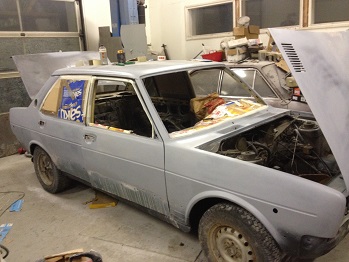
All the welding and other repair work done left surface quality rough - obviously it needs to be smoothed down. While doing the job, primer paint was applied to the places that were already done. However, the surface quality still needs to be better, before applying further layers...
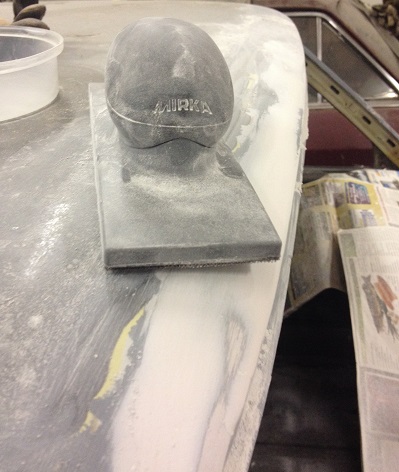
Mirka Abranet sanding net makes the sanding work very easy and fast. Traditional sanding paper usually is clogged easily and wears out very quicky.
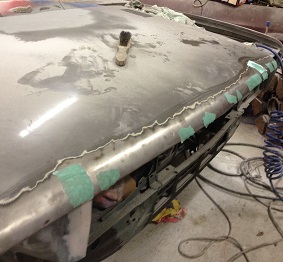
The area around the windscreen was very rough after removing all the rust.
Straight sanding machine is a useful tool for smoothing large surfaces. It consumes a lot of air, though... A random orbit sander works well for the surfaces with radius.

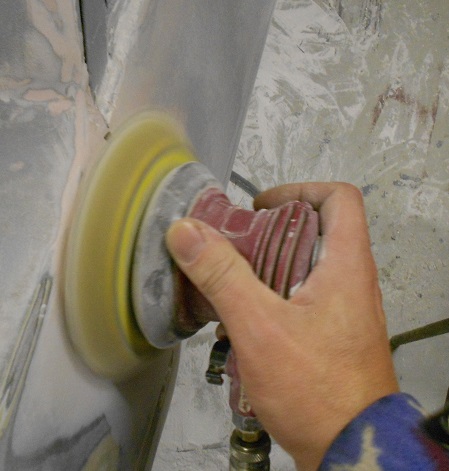
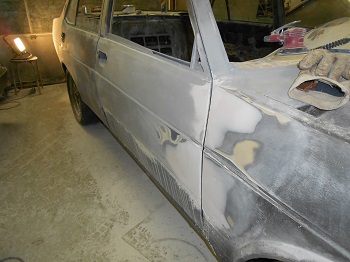
A long and grinding puttying and sanding process followed. Some pictures of this are shown below. Glass fiber filler was used on most of the cases, alhough it is more difficult to grind to smoothness.




All four door handles have deteriorated during the years. New ones were ordered from Turkey, with help of a friend of mine. There are many parts still available for the 131 in Turkey because the car was made under licence there until late 80's.
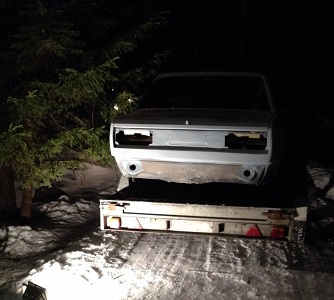
After preparations, the car was taken to a paintshop. The painter also took care about preparing the surface for painting.
Peugeot/CitroŽn EVM (51072) color was selected. It is still graphite grey, like the previous paint was, but with a touch of green.

Engine and transmission
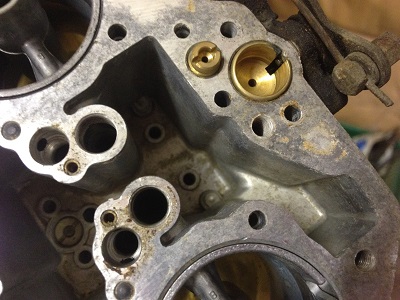
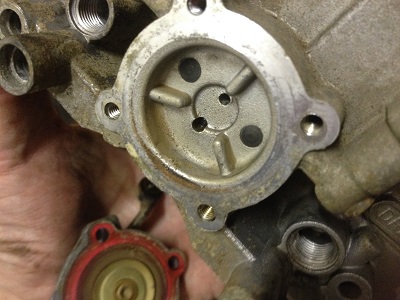
The carburettors were disassembled for cleaning and inspection. The engine had rough idle so this was considered to be necessary. However, a failed gasket between the carburettors and intake manifold was found to be guilty for this...


The carburettors proved to be relatively clean. No deposition on the bottom of the float chamber or other places. Perhaps the fuel that contained 10% of ethanol was the cause. It has been used quite a long time. All jets and adjust screws were cleaned with ultrasonic cleaner.


After the painting
The chassis was retrieved from the paint shop so it was time start putting the pieces together. In addition to different body panels, glasses, screen, brakes and other parts also the engine, transmission and propshaft were put in place. The screen was equipped with a new gasket. Also, some other gaskets and seals were renewed.
The tail lights and front lights were washed and restored.
The original, faithful 2L engine is continuing its employment for the present. It was now accompanied by a new, large radiator and separate coolant reservoir tank. New air filters were attached on the top of the reconditioned carburettors.
Also, the exhaust system was refurbished. As a good source of zinc-plated 90 deg turns of 2.5" diameter, a small piece of Volvo exhaust pipe was exploited. Its part number is visible in left picture below. Whole exhaust system was bolted together with proper flange joints, to make working on the exhaust easier in the future. The exhaust system prior painting is shown in right-side picture...
Battery is located now in back trunk. The main switch found its natural place from above it. It is rather easily to be operated there. However, it will be necessary only during a longer period the vehicle is not in use.
The engine started with no problem after a few year's inactivity. The idle jet of cylinder #4 still had a blockage but after cleaning the jet and synchronizing the carburettors the engine started to idle smoothly.
I'd like to say special thanks to my friend Antti and my son Saku for helping me with the assembly!
A couple of videos of the first start and going for a short test drive are linked below.
Start:
http://www.youtube.com/watch?v=VJ-Y_5LdX0wBacking up from garage:
http://www.youtube.com/watch?v=o1Mwp14o6msBefore the inspection, it will be necessary to work on the parking brake and several other parts of the car. For example, the electric system has many wires that don't yet know where to go. Also, the interior is still completely undone with the front seats and seat belts being the only exception...
